
Introduction
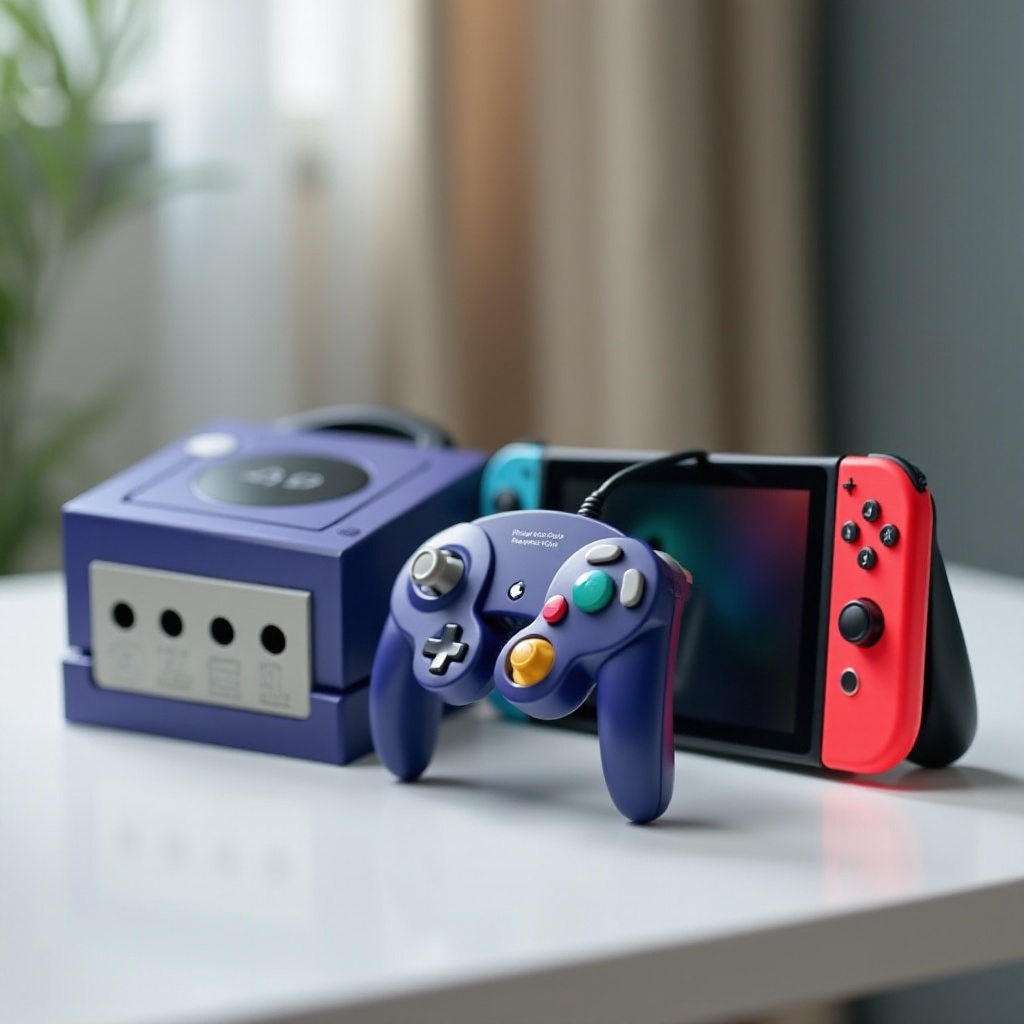
The GameCube controller is cherished among gamers for its distinctive design and reliability. Now, imagine enhancing your Nintendo Switch gaming sessions with the comfort of this classic controller. Connecting a GameCube controller to your Switch can provide a nostalgic touch and improve your gaming setup. Follow this comprehensive guide to effortlessly marry old-school charm with modern gaming.
What You Need to Connect
Before starting the connection, gather the necessary items to ensure a smooth process:
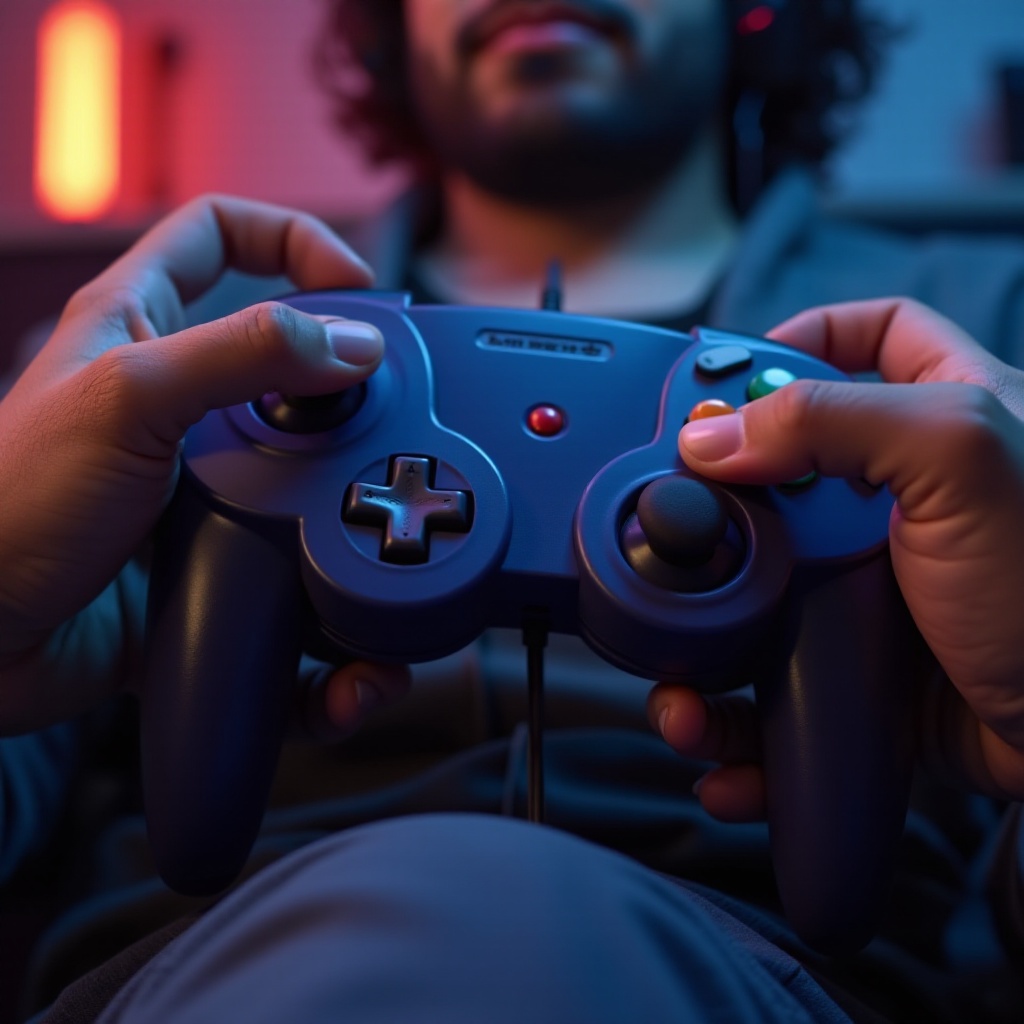
- GameCube Controller: Ensure it’s functional, whether it’s the original or a new version.
- GameCube Controller Adapter: This is essential for the connection, typically using USB ports.
- Nintendo Switch Console with Dock: The dock is crucial for connecting devices via USB.
- USB Cable: Ensure your adapter includes a proper cable and check for adequate length for your setup.
Having the right equipment is crucial not only for initial connection but also for long-term usability and enhanced performance.
Step-by-Step Guide to Connecting
Now that you have everything you need, here’s how to connect your GameCube controller to the Switch:
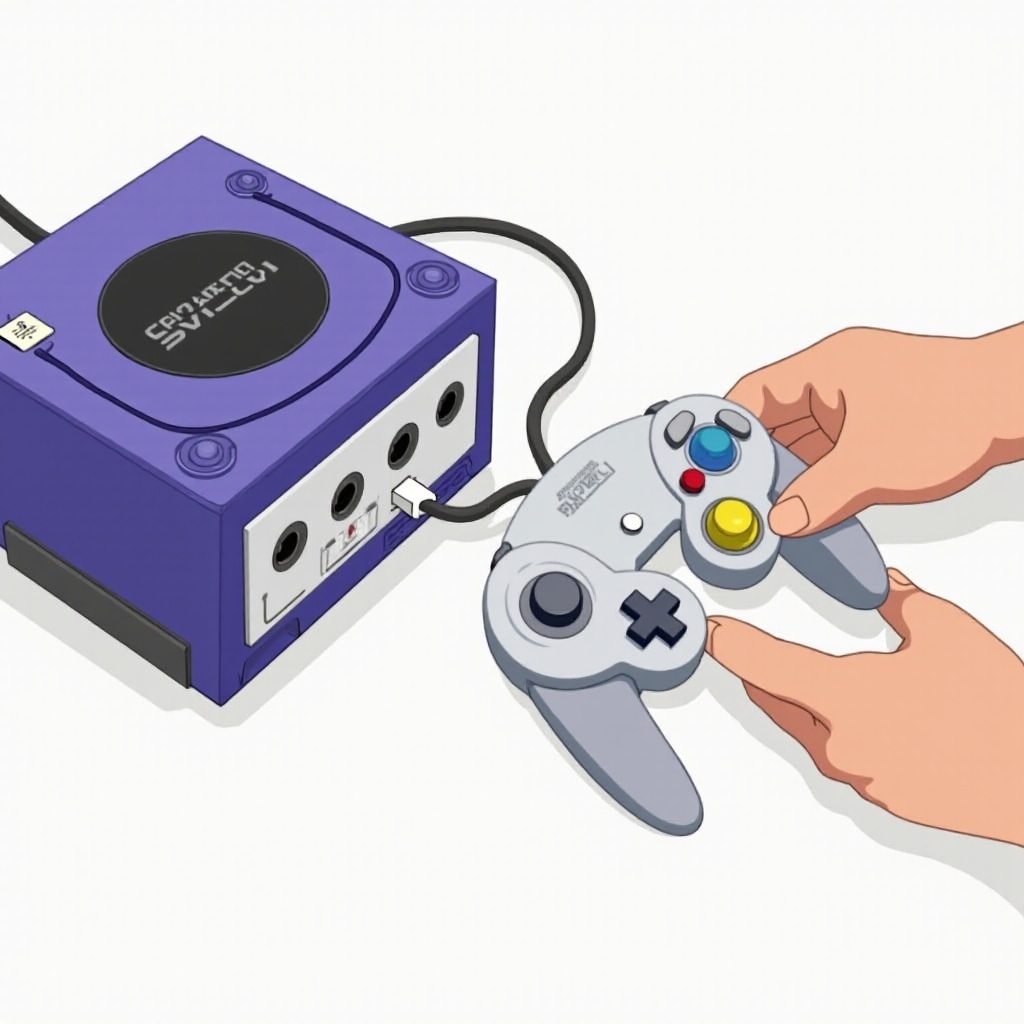
- Plug the GameCube controller adapter into the USB ports on the Nintendo Switch dock.
- Power the dock by connecting it to a power source, ensuring the adapter functions correctly.
- Insert the GameCube controller into the adapter, checking for a snug fit.
These steps ensure your controller’s initial connection, setting you up for a configuration tailored to your gaming preferences.
Configuring Controller Settings on the Switch
Once your controller is connected, configure the settings to enhance gameplay:
- Go to “Controllers” in the system settings on your Switch to manage connected devices.
- Select “Change Grip/Order” to adjust the button mapping according to your preference.
- Ensure any changes are saved so they apply each time you use your controller.
These configurations personalize your experience, aligning the controller’s responsiveness and functionality with your gaming style.
Troubleshooting Common Issues
Encountering issues is common, but these troubleshooting tips can help:
- Resolving Connection Problems: Ensure all connections are secure and cables are properly inserted.
- Addressing Lag and Calibration: Try recalibrating the control sticks from the settings menu if the controller is unresponsive.
- Controller Not Recognized: Restart the Nintendo Switch and ensure the system has the latest updates installed.
Resolving these issues promptly can prevent disruptions and maintain an enjoyable gaming experience.
Tips for Enhancing Your Gaming Experience
Maximize your setup with these expert tips:
- Recommended Games for GameCube Controllers: Games like ‘Super Smash Bros. Ultimate’ are optimized for GameCube controllers.
- Using Additional Accessories: Consider accessories like wireless adapters or extension cables for greater flexibility.
- Proper Maintenance and Care: Keep your controller ports clean and store cables properly to extend usability.
Applying these tips further enhances gaming, ensuring seamless integration of your GameCube controller with modern technology.
Conclusion
Connecting a GameCube controller to your Nintendo Switch bridges the gap between nostalgia and innovation. By following these steps, you can enjoy a personalized gaming experience that combines the best of classic and contemporary gaming.
Frequently Asked Questions
Can I use a wireless GameCube controller on the Switch?
Yes, you’ll need a compatible wireless adapter to connect it seamlessly.
Do I need a specific adapter brand for the connection?
Not necessarily, but ensure the adapter is compatible with the Switch for optimal performance.
How to update the Switch to ensure compatibility with GameCube controllers?
Go to ‘System Settings,’ select ‘System,’ then ‘System Update’ to install the latest updates, ensuring compatibility.